Cloudflare R2
Store your builds in Cloudflare R2
This feature is available to users on our Pro plan and up.
Introduction
While Buildstash offers simple, low-cost storage for your builds out the box, you may prefer to host your own build data. We make it easy to connect a Cloudflare R2 bucket (or S3 API compatible storage from another provider).
Cloudflare R2 may be a cost-effective alternative to S3 for many teams, especially for serving large builds, as they offer zero egress costs.
Follow the steps below to setup a custom storage bucket on an application.
Prepare R2 bucket
If you haven't already created an R2 bucket to use with Buildstash, it is strongly advised to start with a new or empty bucket. Our application expects a certain directory structure and won't be able to work with existing files.
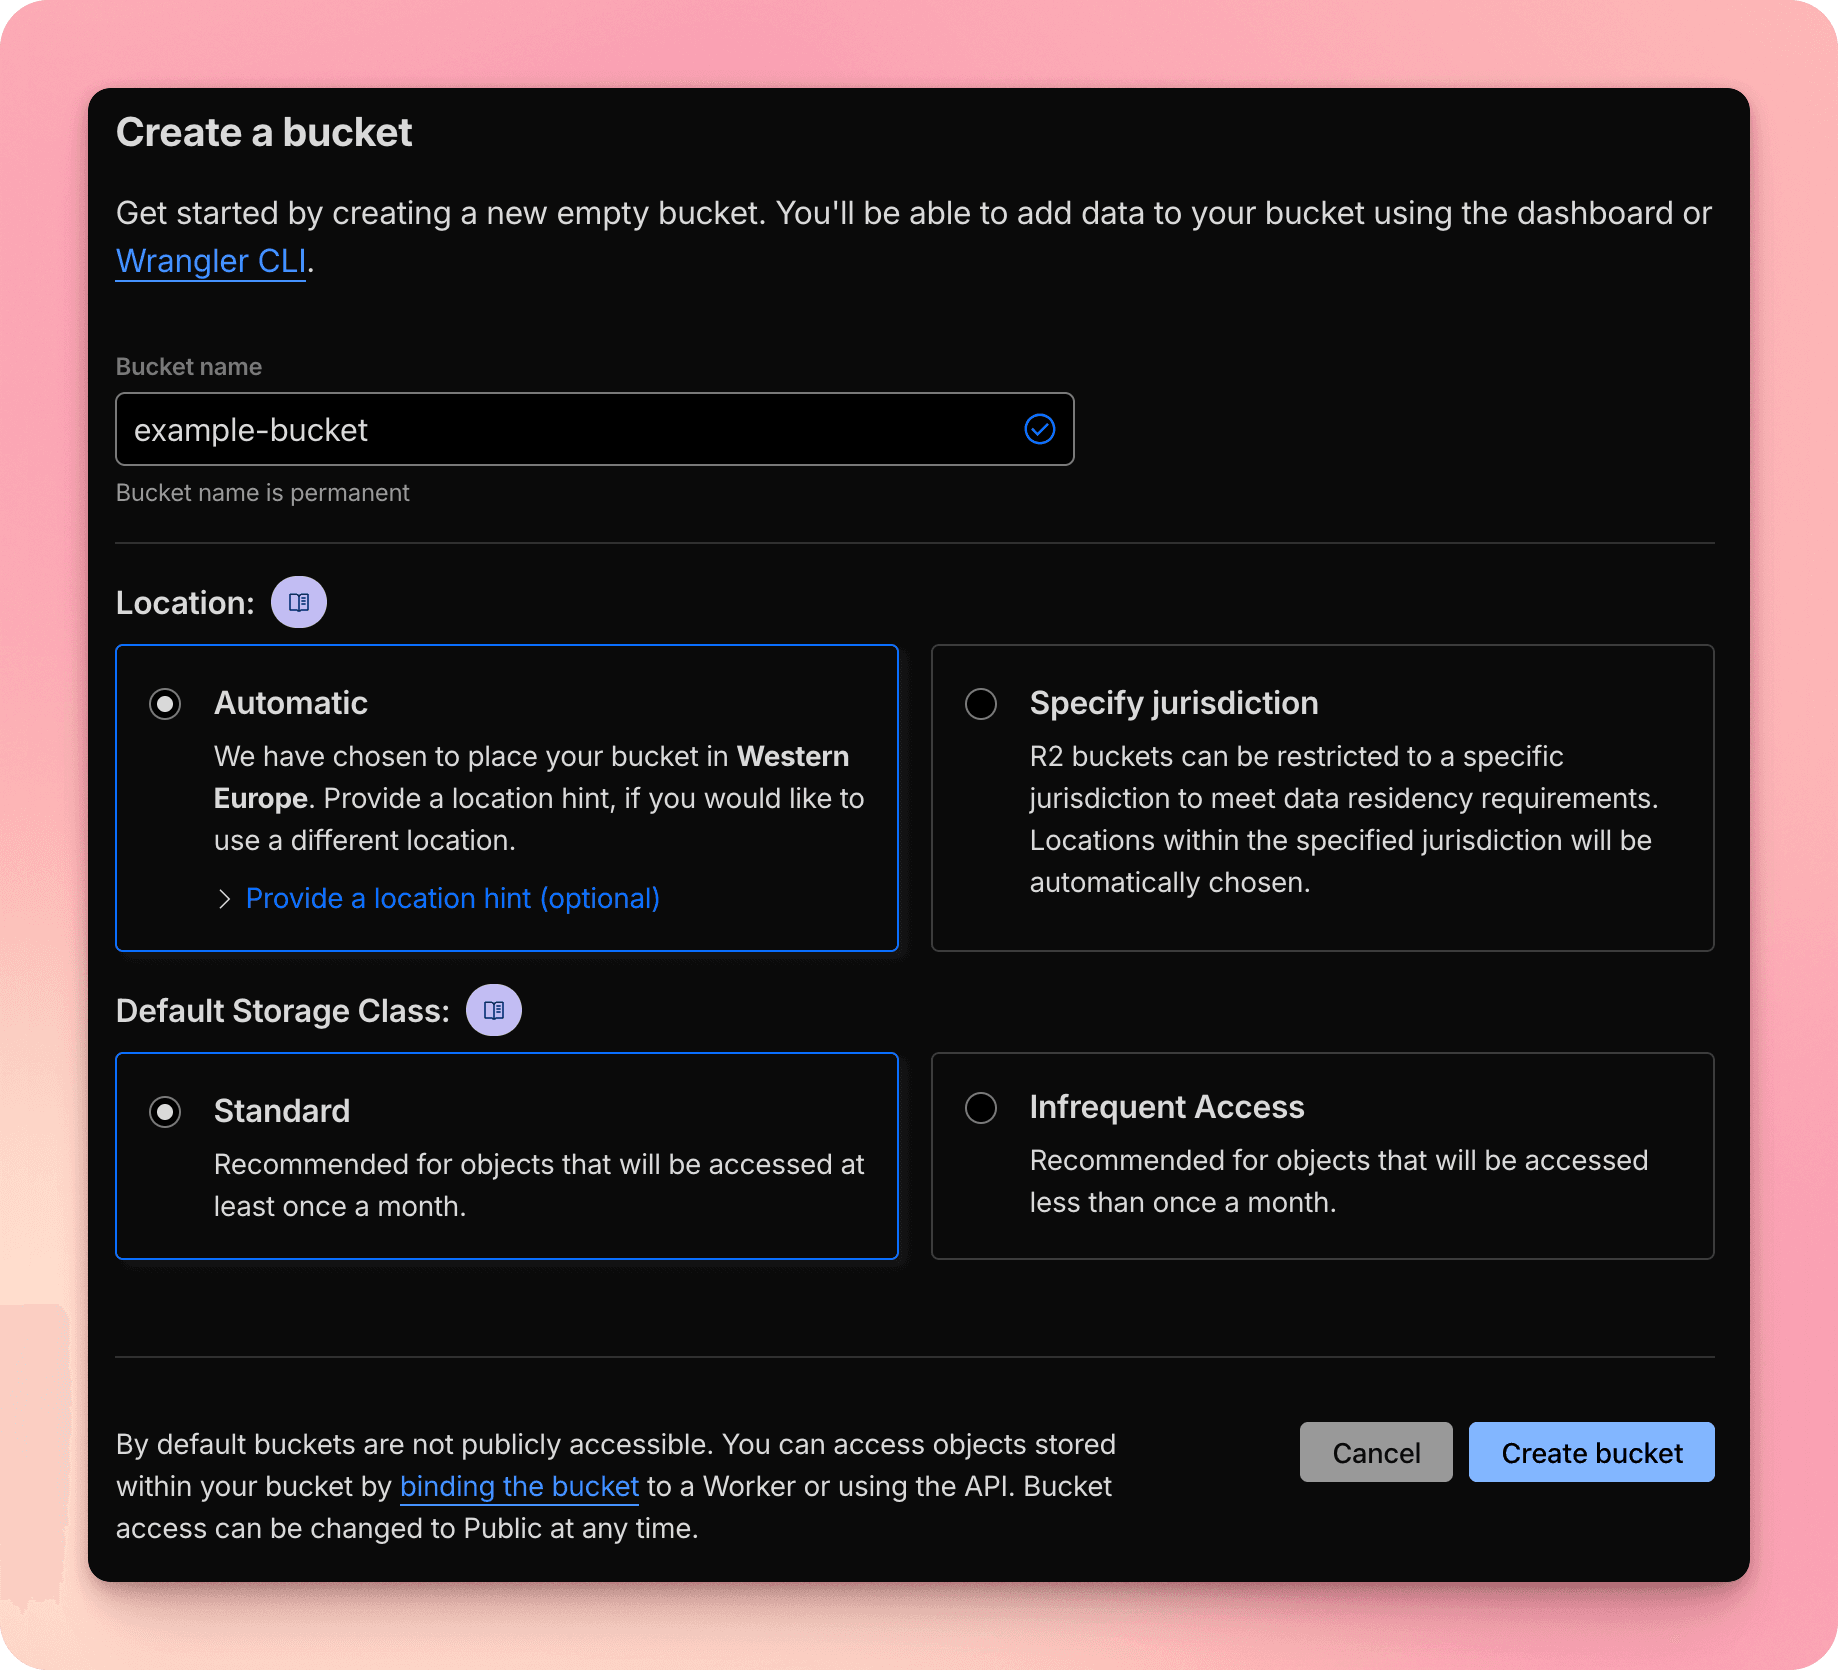
Once you've connected a bucket to Buildstash, you can feel free to re-use across applications (or even workspaces) as you prefer.
You can leave public access off, and most of the default settings for the new bucket will work just fine with Buildstash.
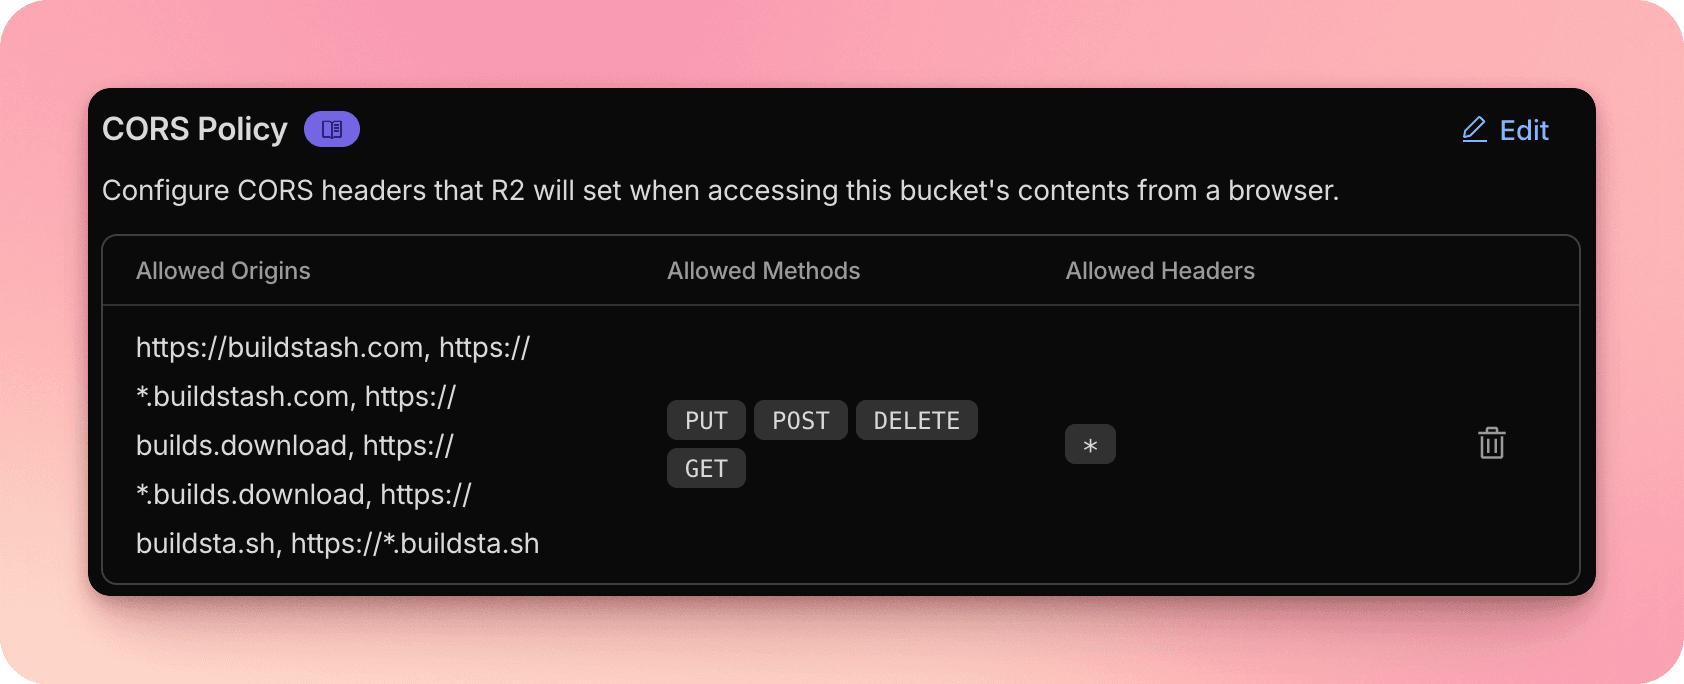
Once the bucket is created, you must set your CORS policy to allow Buildstash domains the access we need.
To edit the bucket's CORS policy, select your bucket under _"R2 Object Storage"), and select "Settings" tab. Scroll down to "CORS Policy", and edit.
[
    {
        "AllowedHeaders": [
            "*"
        ],
        "AllowedMethods": [
            "PUT",
            "POST",
            "DELETE",
            "GET"
        ],
        "AllowedOrigins": [
            "https://buildstash.com",
            "https://*.buildstash.com",
            "https://builds.download",
            "https://*.builds.download",
            "https://buildsta.sh",
            "https://*.buildsta.sh"
        ],
        "ExposeHeaders": [
            "ETag",
            "Location"
        ]
    }
]
Enter the above JSON configuration, then save.
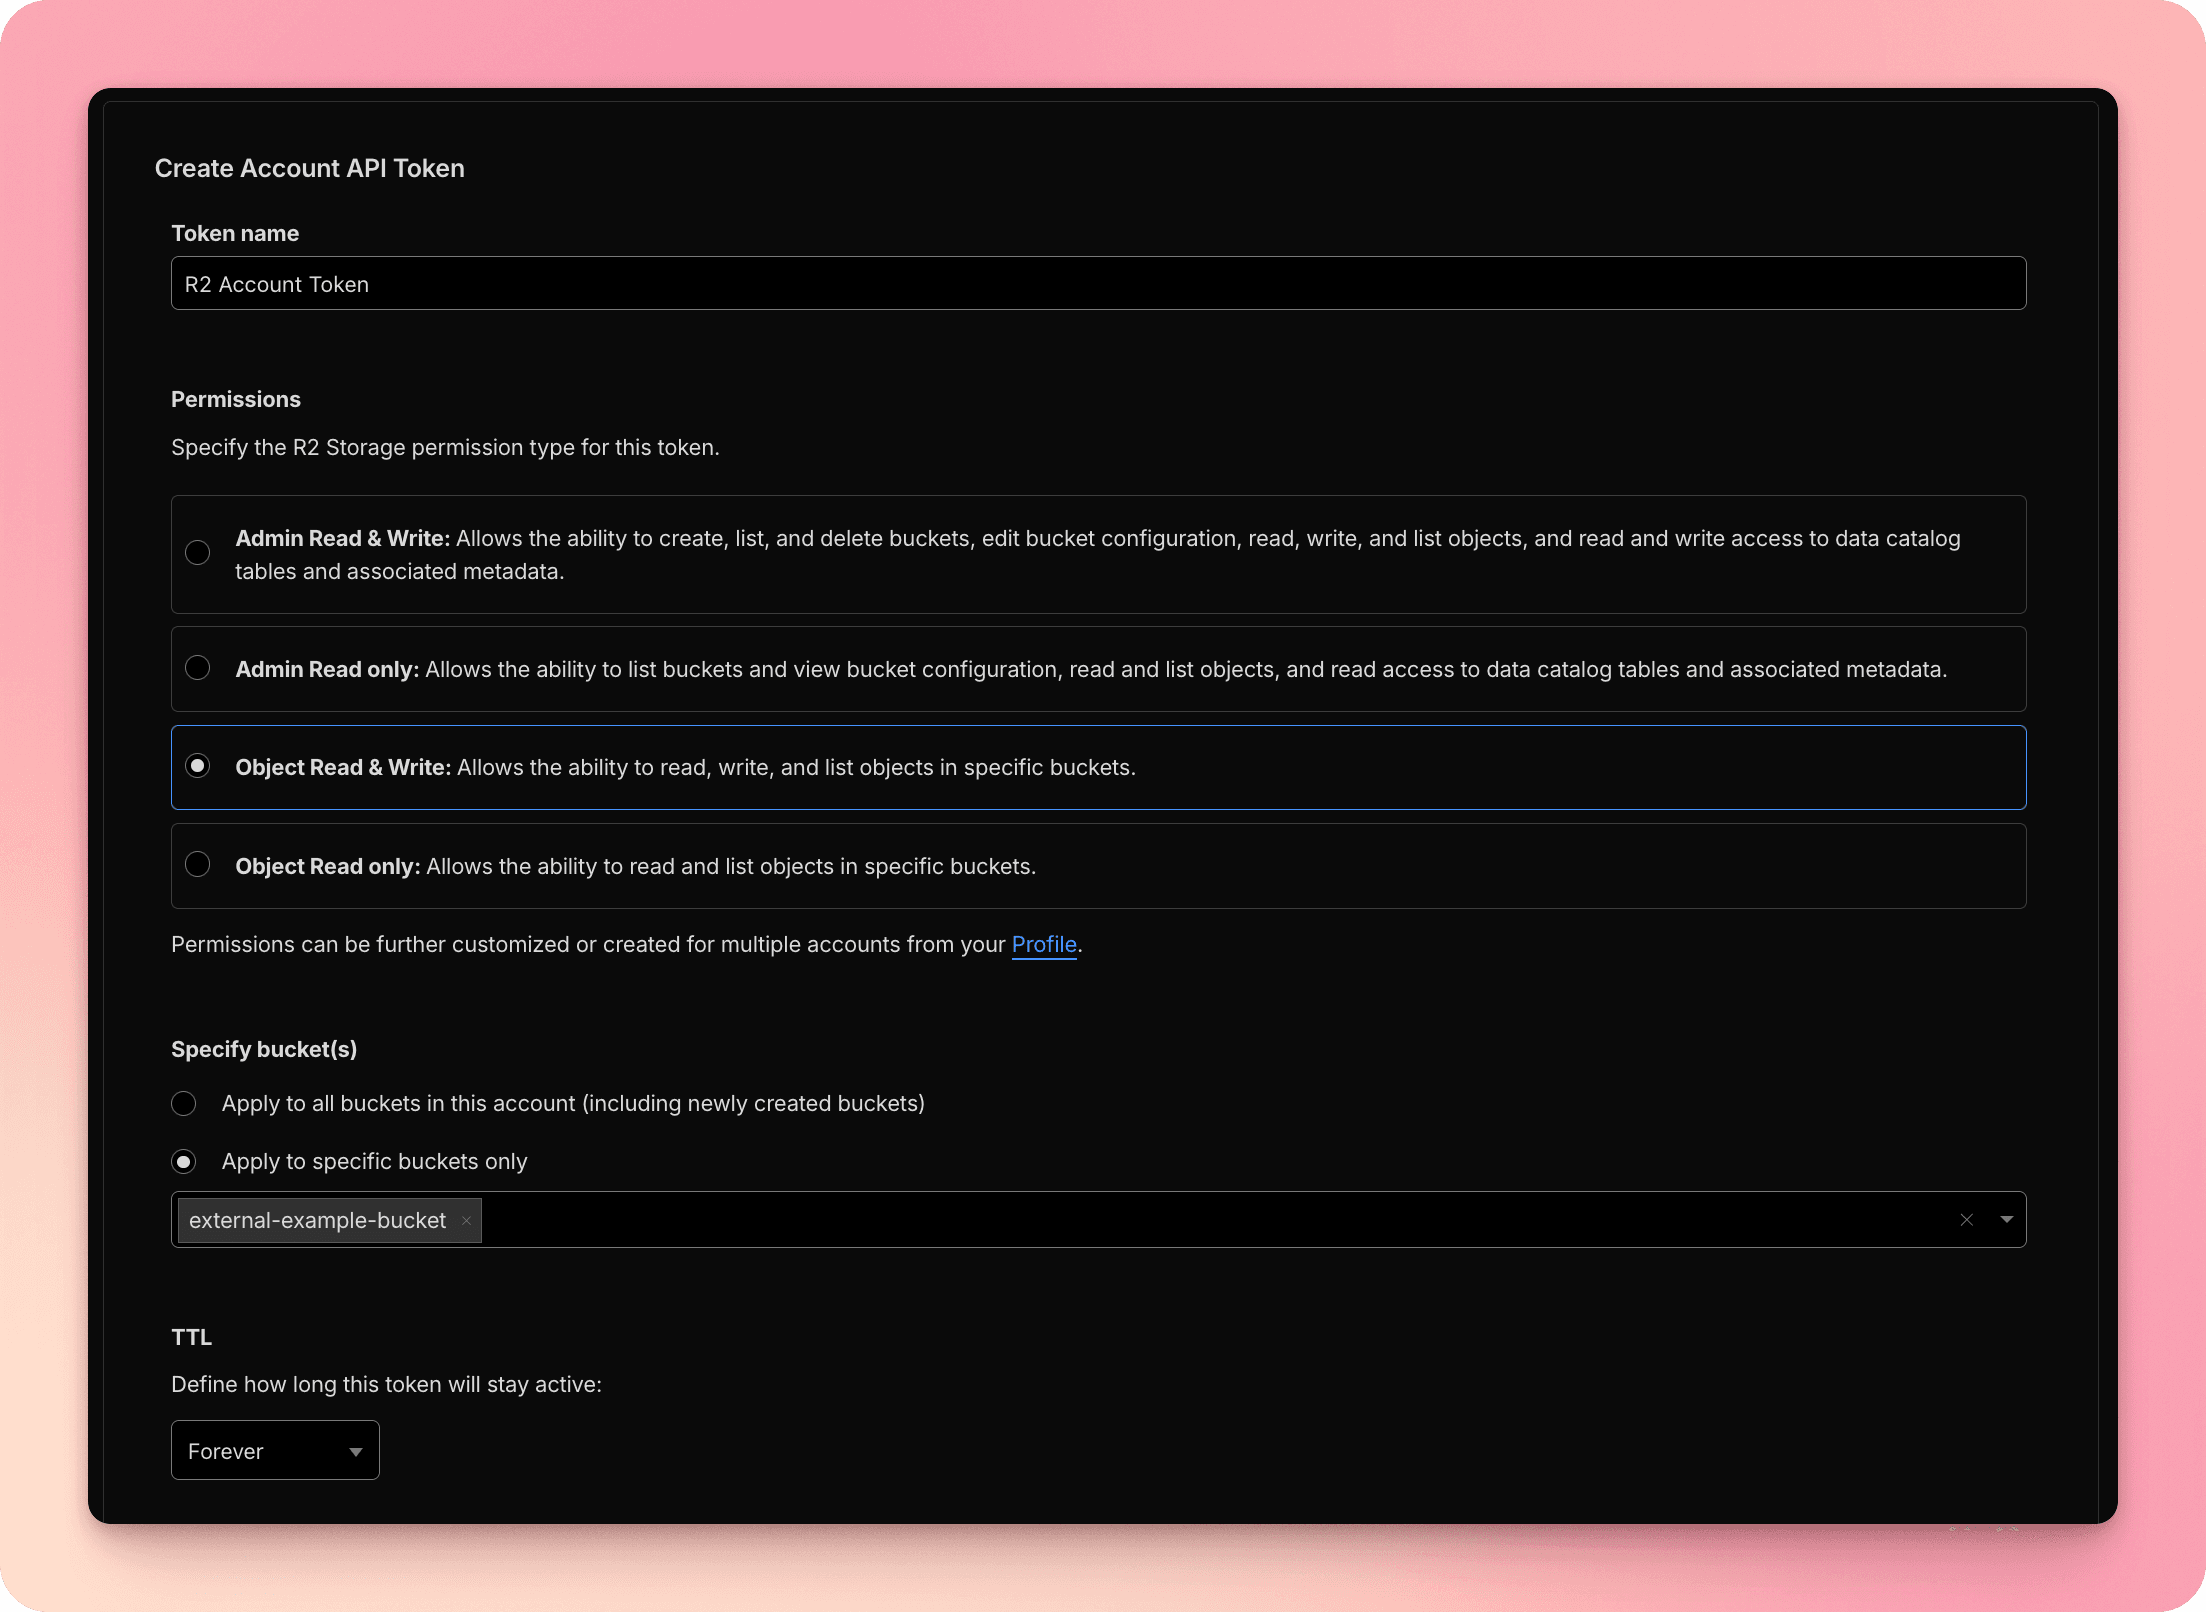
On the "R2 object storage" page, select "Manage" next to API Tokens.
You can then credit a token either under Account or User - Account is generally preferred so that the token is tied to your Cloudflare team rather than your own user.
At least "Object Read & Write" permission is required for this token, to allow builds to be both uploaded and downloaded. Set TTL to forever, and leave "Client IP Address Filtering" empty.
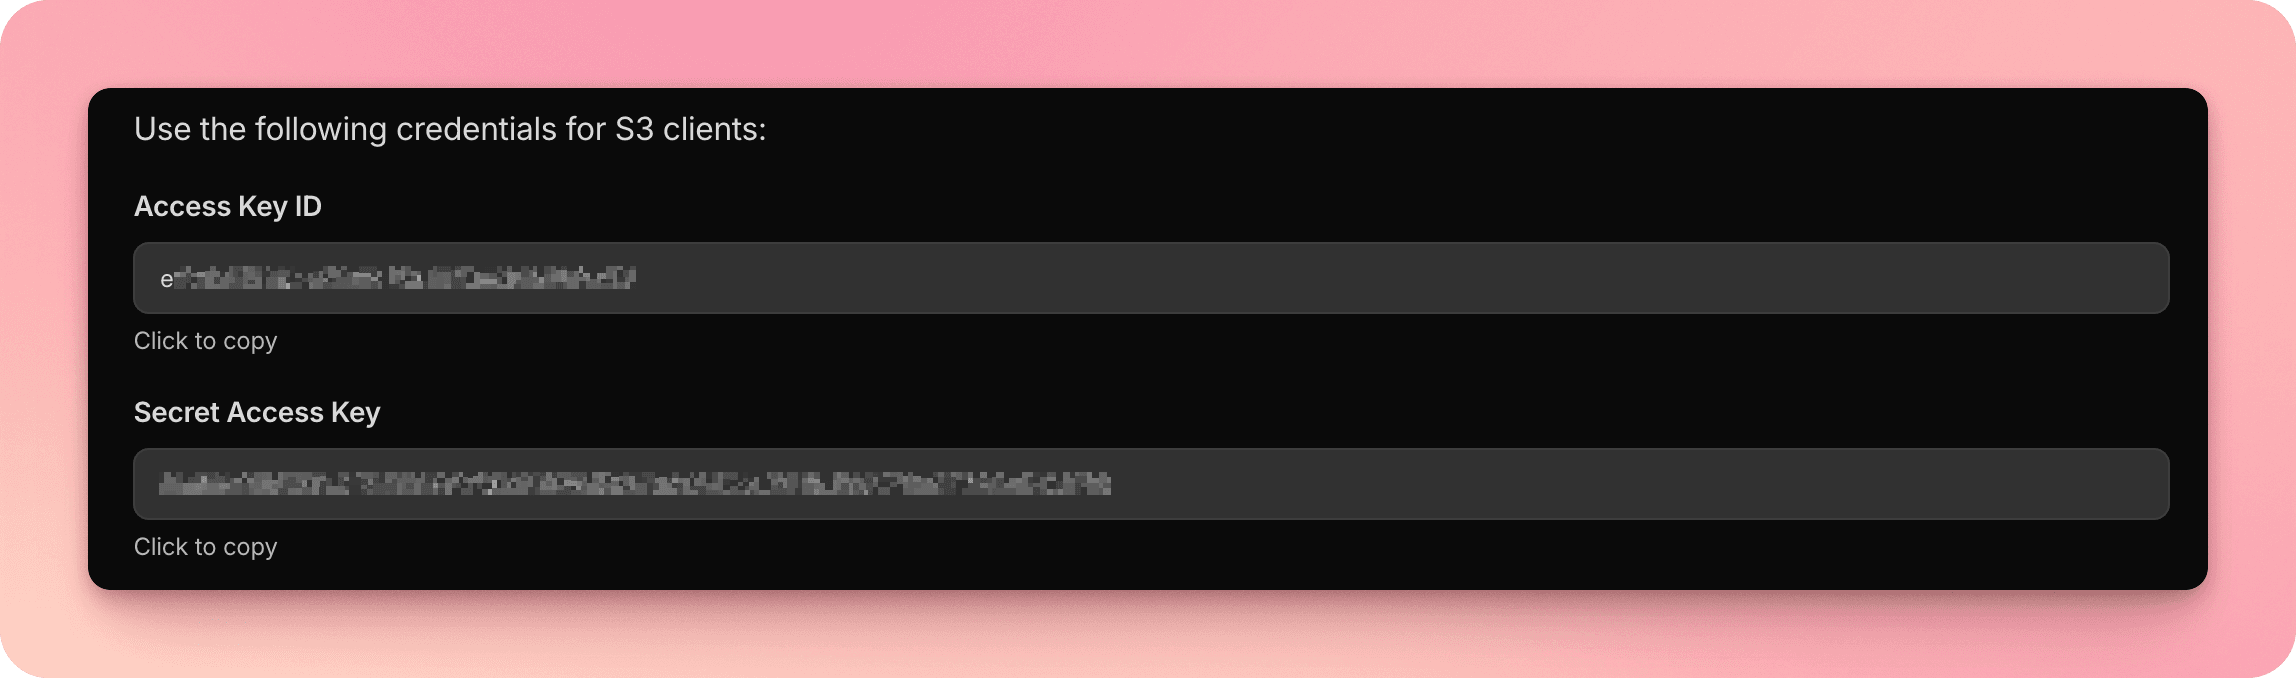
Once the API token is created, you'll need to copy the "Access Key ID" and "Secret Access Key" provided specifically for S3 clients.
Connect bucket to your Buildstash app
In a fresh Buildstash application, go into your app's Settings > Storage > Configure storage.
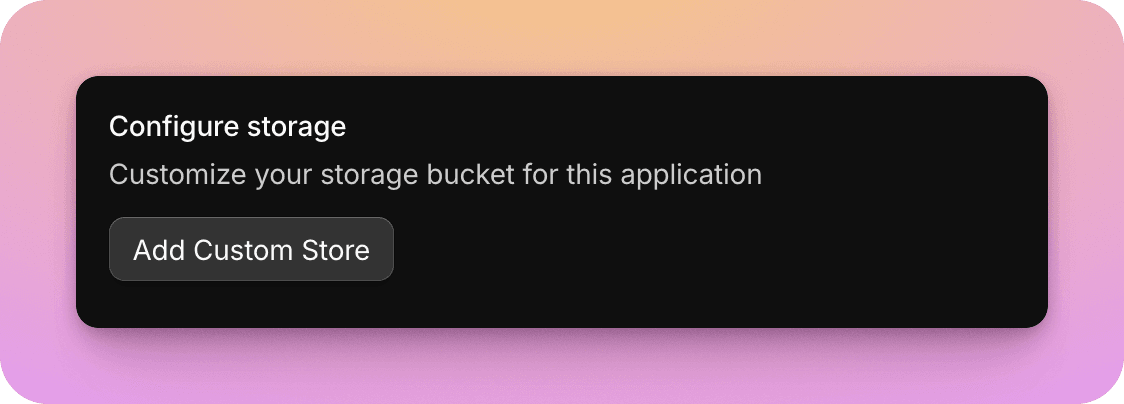
Note, you can only setup custom storage on an application when no builds are stored in it. This also applies to removing an existing custom store and switching back to Buildstash provided storage.
Enter the details for your R2 bucket, with the exact name of the bucket you created, as well as the configured Access Key and Secret Access Key we configured above.
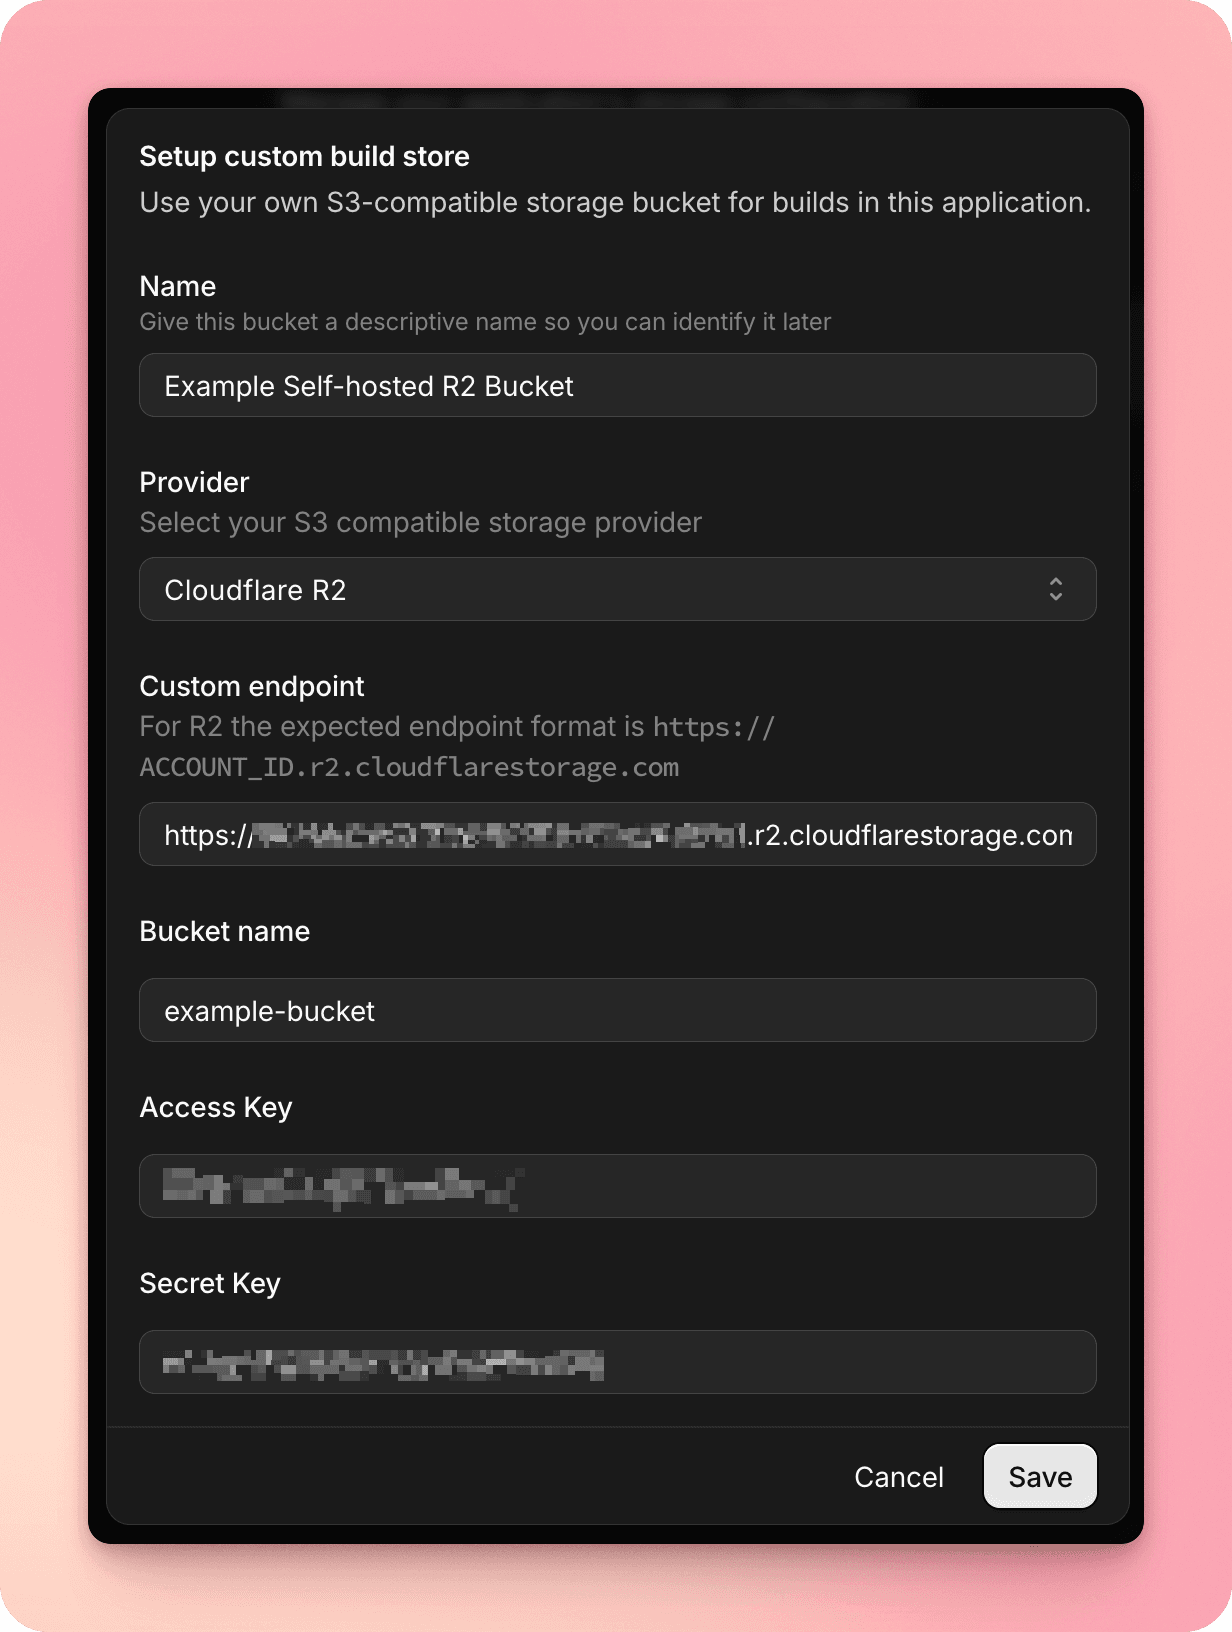
For Cloudflare R2 you will also need to provide your custom endpoint for the R2 bucket. You can find this URL under your bucket settings > General > S3 API.
It will be in one of the following formats:
- For NA: https://CLOUDFLARE_ACCOUNT_ID.r2.cloudflarestorage.com
- For EU: https://CLOUDFLARE_ACCOUNT_ID.eu.r2.cloudflarestorage.com
Do not include the name of the bucket in the endpoint (i.e. remove anything after the .com) to store it.
When you hit "Save" a test connection request will be made to the bucket, and if it is successful, the custom store will successfully save.
Builds uploaded to this application will now be hosted within your custom bucket.
Buildstash now expects to manage the files in this bucket, and that files will be where we expect them to be.
Please manage build files (uploading, deleting, etc) via the Buildstash interface and our provided tooling, and don't edit files directly in the bucket, to avoid causing issues like broken build links.